Quick Start
This guide walks you through the fastest way to get Tear Sheets working in a useful, practical way. Afterwards, you’ll most likely want to review the settings and then tweak the layouts for the best results.
Steps to get started
- Follow the Installation guide.
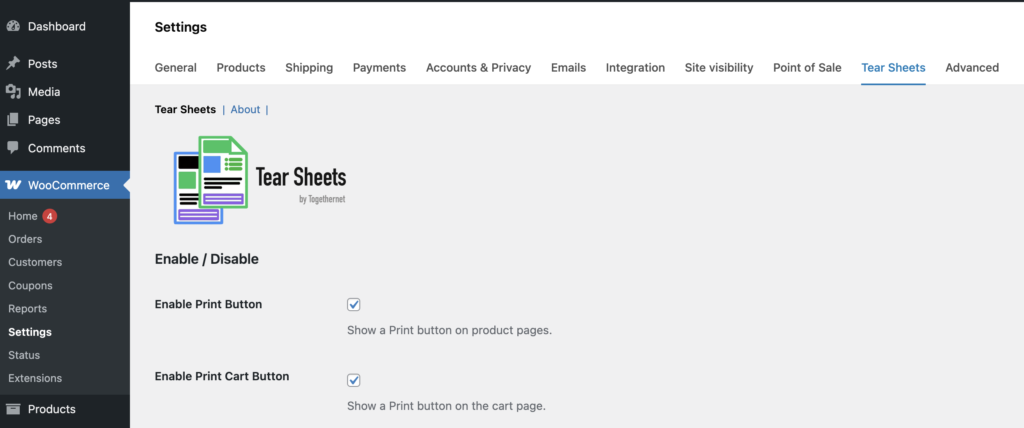
- From the WooCommerce settings menu, visit the Tear Sheets Settings page and review the settings. All settings have sensible defaults so you may not wish to change any of them.
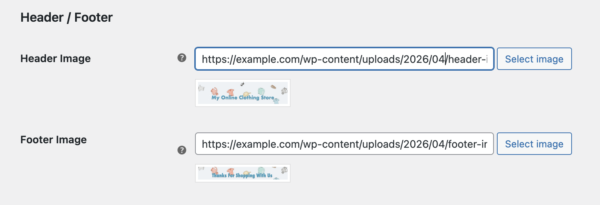
- Upload a Header Image and/or Footer Image if you want to create branded tear sheets.
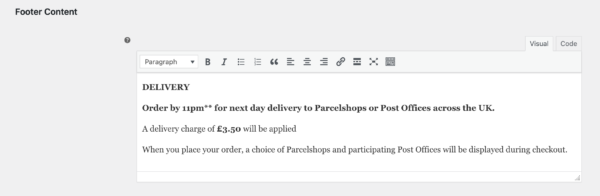
- If you want to, add some text to the footer text area and cart text area – this will appear on every PDF, no matter what product is selected. Ideal for contact details, delivery information, returns policy, etc.
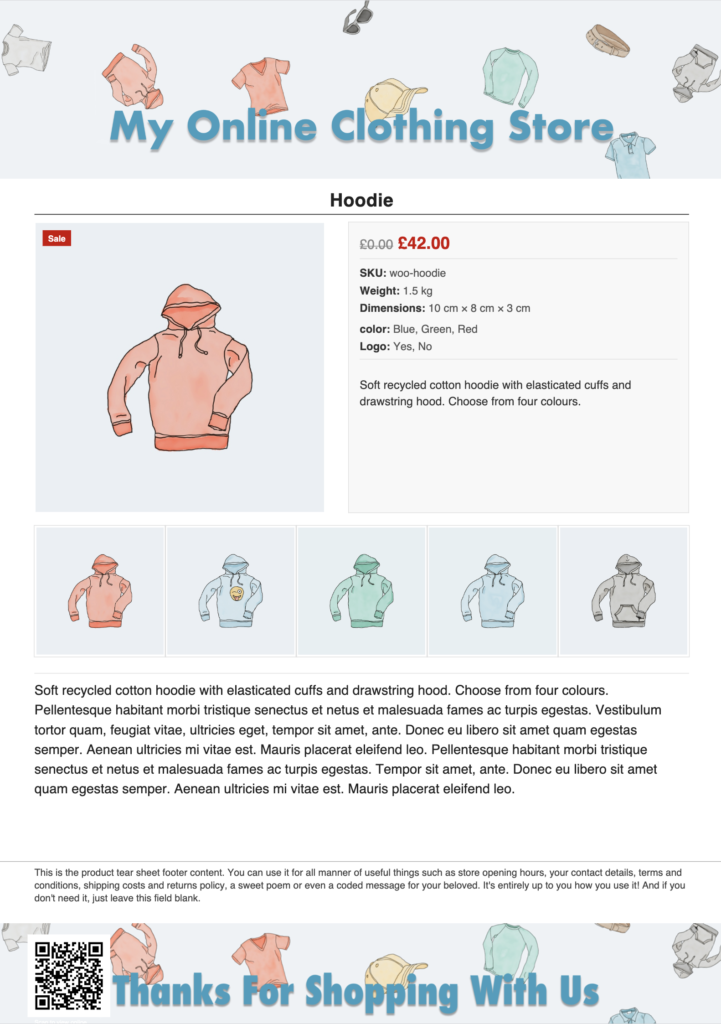
- Open a product page and click the printer icon or Print button to test the product tear sheet.
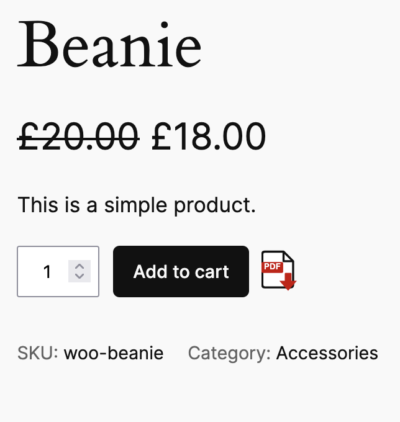
A PDF will be generated that you can share, or print.
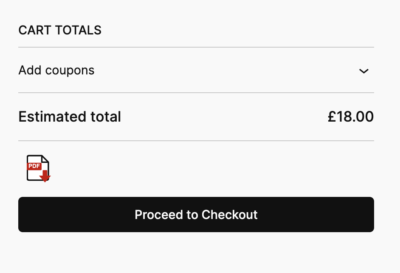
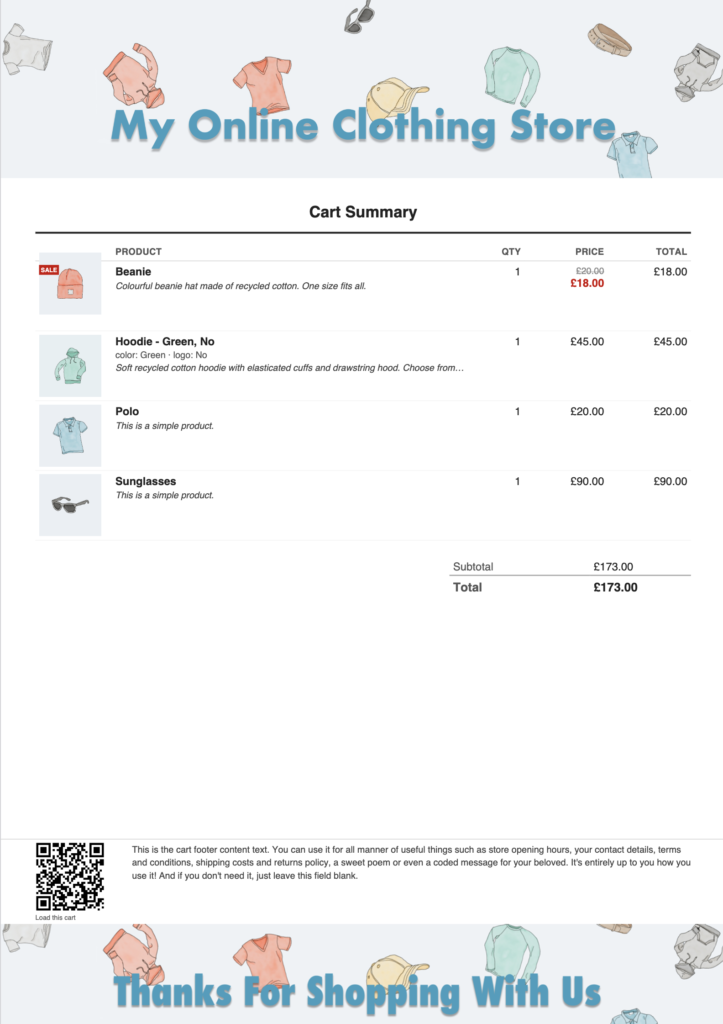
- Add an item to the cart, then visit the cart page or mini-cart and test the cart tear sheet as well.
Next step
Next, review the Tear Sheets Settings guide to tailor the PDFs to get the best results for your store.